Exporting Your Project
To back up your Unity files, you need to back up the entire contents of your Unity project folder, NOT just the .unity files.
There are a couple ways to do this, but The easiest way to do this is create a unity package:
Method 1: Create a Unity package (Recommended)
Instructions
To Export the package…
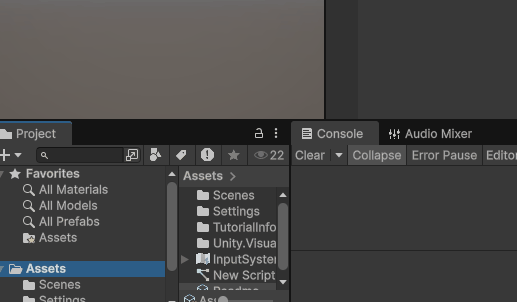
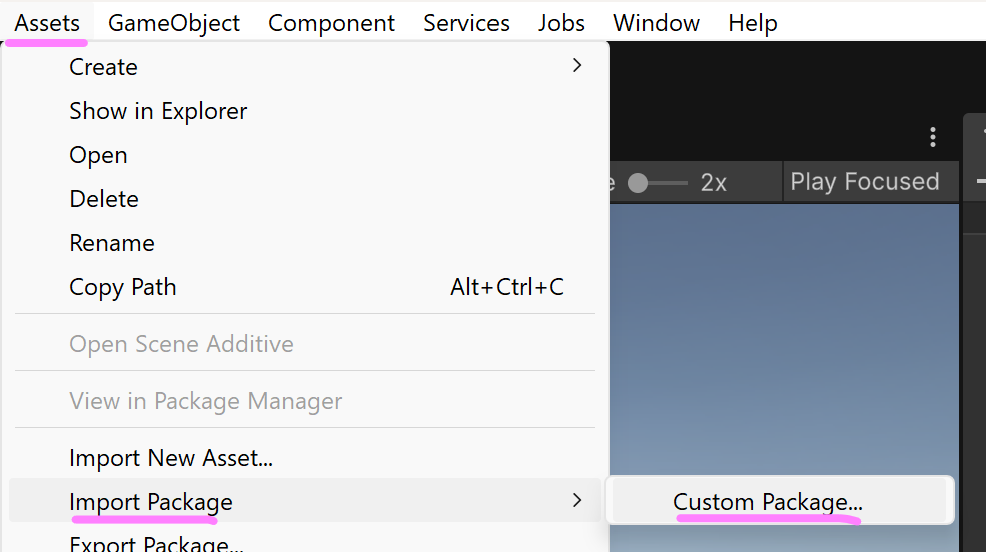
- In Unity, right click on the ‘Assets’ folder in the project tab
- Choose “Export Package”
- In the window that opens, verify that is shows a big list of all the files in your project, and hit Export
- Give the file a sensible name, and save it.
To Import the package…
- Create or open a project where you’ll import the package
(Note: importing a package will overwrite any duplicate files, so be careful) - Go to Assets/Import Package and select your package file
OR
Drag and drop the package file into the project tab
pros: simple, small filesize
cons: doesn’t include certain project settings in the transfer (not typically a problem)
2: Copy the entire Unity Project folder
Only do this if you have issues with method one
Instructions
- (IMPORTANT) QUIT UNITY!
- …
- Really, did you quit unity?
- (Optional, but highly recommended) temporarily move the ‘Library’ folder onto your desktop, or otherwise outside the project folder.
The ‘Library’ is a very large folder that does not contain anything unique to your project, and is just a cache of files that can be regenerated. - Zip the folder.
- Move the library back.
pros: Includes all project settings. Don’t need import step.
cons: Very easy to mess up.
PRO TIP: Zipped files transfer to/from USB drives significantly more quickly than raw project folders
NOTE: you can also delete the Library folder of your project to save space if you know you won’t be opening your project for a while.
3: Use Version Control (Like Git, or Unity’s built-in version control)
This is an advanced method. Either investigate on your own, or check with the instructor.